Controls (Hubs/Systems)

Staples Connect: 6 Not-So-Easy Steps To Set Up Smart Home System
Staples Connect' set-up is not as easy as its competitors.

Staples Connect' set-up is not as easy as its competitors.
Last Updated: August 4, 2016
Also note that Staples had pulled the plug on its priority smart home collection on August 4, 2016, Staples Connect. The smart home products will be transitioned to Z-Wave, another wireless platform that allows smart home devices to speak to each other.
Staples Connect has one major advantage over its two big store-brand smart home competitors, Lowe's (Iris) and Home Depot (Wink): in case of an Internet outage, your Staples system will continue to operate.
The problem is setting up the system. Get a cup of coffee. You made need one.
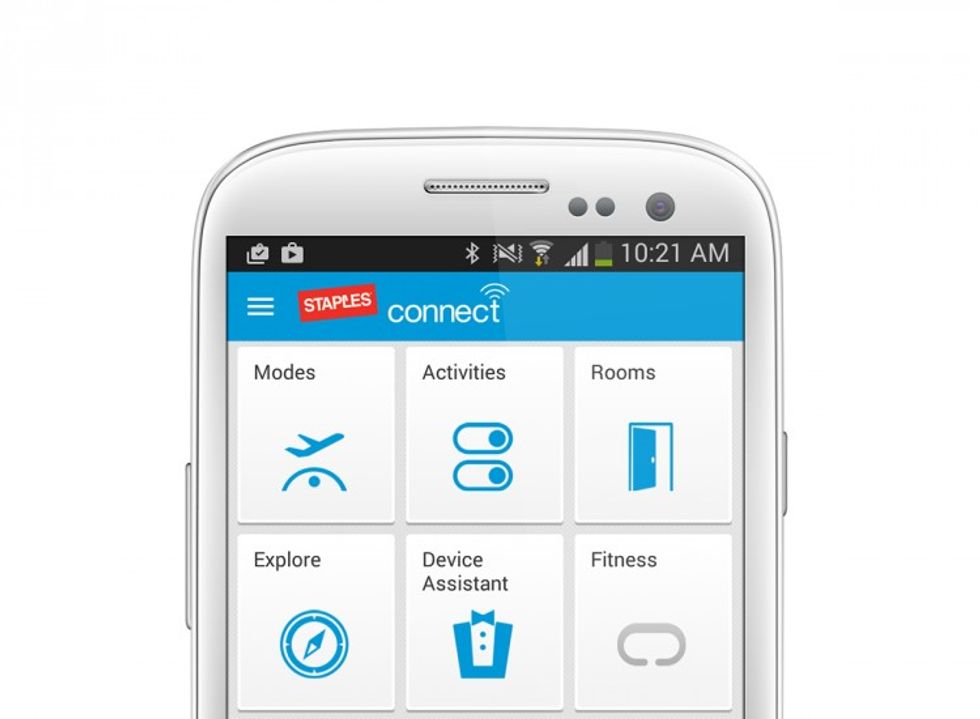
Staples Connect operates on a room, or an activity logic. Once devices are added, they can be operated as part of grouped activities or from within specific rooms. However, to get to this room or activity level, you have to go through a device set-up process that we found both confusing and frustrating.
Step 1: There used to be two Staples Connect hubs to choose from, a D-Link cylindrical hub ($79.99) or the Linksys hub ($99.99). But the latter has been eliminated. However, the old hub can still be chosen during set-up using the Staples Connect iOS or Android app. Figure out which one you have.
Step 2: The hub can be integrated into your home network by Ethernet-wiring it to your router or via Wi-Fi. We prefer Wi-Fi for the ability to put your hub anywhere you want in your abode. However, a wired connection is more hassle-free and reliable.
Step 3: After downloading the Staples Connect app (see Step 1) and registering with Staples you connect the hub into an AC power outlet and then to your network.
Step 4: Now you have to turn the hub over to get its six-digit registration number and physically enter into this detail into the app. You can add an optional name for the hub as well, and also your zip code. Once these steps were completed, the hub should sync with your network nearly instantly.
Step 5: Now let's add our first product. Adding the D-Link DCS-942L ($99.99), proved to be a challenge.
From the app's main screen, you tap "Device Assistant," not the grayed-out "Cameras" icon as we would have thought. We found the camera in the list of devices, but then we got stuck. Despite it being a Wi-Fi camera, the app said to connect the camera to the router via the included short Ethernet cable. The instructions also noted to refer to the camera's own paper directions for set-up, which instructed us to navigate to the D-Link connection page on a PC. Long story short, I had no idea what I was doing or why, and Staples Connect's call-in support person was of no help or consolation. (Not a confidence booster.)
Step 6: I then tried to add a Ecolink Home Motion Sensor ($49.99). Another struggle. We opened up the included paper instructions. First there was a caveat about first adding the sensor to a Z-Wave network – what Z-Wave network? – and a sentence about referring to instructions of my network controller – what network controller? Then the first bold-faced instructions read: "Start by placing the controller into inclusion mode." Again, what controller? And what's "inclusion mode"?
Perhaps by applying a little virtual elbow grease, I could have figured out how to connect the camera and sensor to the Staple's system. By why should I or you or anyone have to apply any effort to add a "smart" device when there are far simpler smart home systems available?
Staples Connect's device add-on process was neither intuitive nor "smart" and didn't leave me with a positive feeling for moving to Staples Connect's more advanced room- or activity-based capabilities. Perhaps you'll have better luck.
GearBrain Compatibility Find Engine
A pioneering recommendation platform where you can research,
discover, buy, and learn how to connect and optimize smart devices.
Join our community! Ask and answer questions about smart devices and save yours in My Gear.
