The Apple MacBook Air is a popular ultraportable laptop known for its thin and lightweight design. The logic board is a crucial component responsible for the laptop’s functionality. If this component fails, replacement may be the only solution to restore the device’s operability. Here is everything you need to know to ensure a smooth MacBook Air logic board replacement process.
Signs of Logic Board Failure
Several indicators suggest that your MacBook Air’s logic board may be malfunctioning:
- The laptop does not power on, even when the battery is charged and connected to power.
- Screen artifacts appear, such as lines, pixels, or image distortions.
- Random system reboots and freezes occur without apparent cause.
- No response to peripheral device connections, such as a mouse or keyboard.
- Power and battery charging issues arise.
If you encounter one or more of these signs, there is a high probability that your MacBook Air’s logic board is faulty and requires replacement.
Preparing for Logic Board Replacement
Before replacing the logic board, gather all the necessary tools and equipment. You will need:
- A set of screwdrivers (Phillips and flathead) for disassembling the laptop.
- Plastic spudgers or guitar picks for separating clips and connectors.
- An anti-static wrist strap to protect components from static electricity.
- An organized and clean workspace with adequate lighting.
Selecting a compatible logic board for your MacBook Air model is also crucial. Ensure the chosen board has the same size, connectors, and specifications as the original. Purchase parts only from reputable suppliers to avoid compatibility and quality issues.
Before beginning the work, all essential data must be backed up to an external storage device. This will help prevent data loss in the event of complications during the logic board replacement.
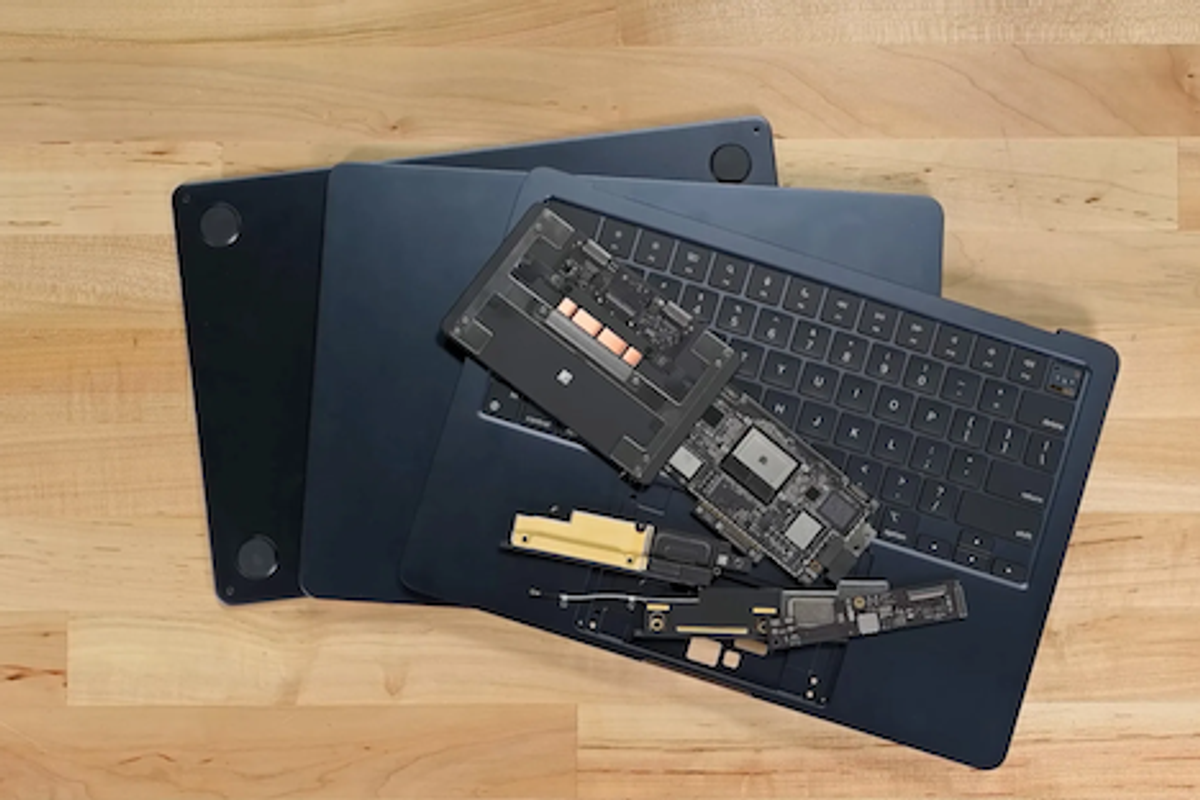
 The MacBook Air is offered in gold, as well as the silver and gray options of the Pro
Apple
The MacBook Air is offered in gold, as well as the silver and gray options of the Pro
Apple
Logic Board Replacement Process
Follow these steps to install the new board:
- To avoid component damage during replacement, disconnect the laptop battery by detaching the battery connector from the logic board.
- Remove the bottom cover of the MacBook Air by unscrewing all screws around the perimeter. Carefully lift the cover, taking care not to damage internal components.
- Gently disconnect all cables and connectors attached to the logic board. These may include cables for the display, keyboard, touchpad, speakers, etc. Remember or photograph the location of all cables for reassembly.
- Remove the old logic board from the laptop chassis. Unscrew the screws holding the board in place and carefully extract it from the connectors.
- Install the new logic board, aligning all mounting holes and connectors. Ensure the board sits evenly in its place without any misalignment.
- Reconnect all cables and connectors, observing their correct orientation. Be attentive, and do not apply excessive force to avoid damaging the contacts.
- Replace the bottom cover of the laptop and secure the screws. Verify that the cover fits tightly against the chassis without any gaps.
Testing and Configuration After Replacement
After replacing the logic board, conduct testing and configuration to ensure proper functionality.
First, verify the operation of the main components:
- Power on the laptop and check if the operating system boots.
- Test the display for artifacts, dead pixels, or incorrect color reproduction.
- Verify keyboard and touchpad functionality by pressing keys and performing gestures.
- Ensure speakers produce sound without distortion and at sufficient volume.
Next, check the functionality of all ports and connectors:
- Connect external devices such as a mouse, keyboard, or flash drive to USB ports and ensure the system recognizes them.
- Test the Thunderbolt port by connecting a compatible device or external monitor.
- Check the headphone jack by connecting headphones and playing audio.
After verifying hardware components, proceed with software configuration:
- Update the macOS to the latest version to obtain all necessary drivers and bug fixes.
- If available separately, install the latest drivers for the graphics chip, sound card, and other components.
- Before replacing the logic board, restore data from the backup created. This may include documents, photos, videos, and other important files.
Potential Issues and Solutions
When replacing the logic board, some issues may arise that require additional attention:
- Incompatibility of the new logic board with your MacBook Air model. If the laptop does not turn on or functions incorrectly after replacement, ensure you purchased the correct board corresponding to your model and year of manufacture.
- Component damage due to careless replacement. Be cautious when disassembling and reassembling the laptop to avoid damaging cables, connectors, or other fragile elements. Follow instructions and use appropriate tools.
- Post-replacement issues include no sound, non-functioning ports, or incorrect display operation. Carefully check that all cables and connectors are correctly connected. If the problem persists, additional diagnostics or a repeat logic board replacement may be necessary.
If you are unsure of your skills or encounter difficulties during replacement, it is best to consult professionals at a service center. Specialists can perform quality diagnostics, replacement, and configuration of your MacBook Air, ensuring its reliable operation in the future.
Remember that prevention and timely problem-solving are key to the long and trouble-free operation of your Apple MacBook Air laptop.
Related Articles Around the Web

 The MacBook Air is offered in gold, as well as the silver and gray options of the Pro
Apple
The MacBook Air is offered in gold, as well as the silver and gray options of the Pro
Apple