When moving to a new house, it is likely that some smart devices fitted to the garden and the exterior of the property will be left behind. We're talking about security cameras fixed to walls, bespoke lighting installed above the terrace, garage door controllers and water irrigation systems tailored for the exact layout of your garden.
We're focusing on the latter and specifically smart irrigation systems from Rachio. The company has offered three generations of irrigation controllers over the years, and all of them are easy to reset when you sell your property.
Read More:
As with any smart devices you choose to leave behind when moving house, it is important to make sure the irrigation system is properly reset and left in an as-new state for the new owner. That way, they can set up the Rachio as if they have just bought it, and your Rachio account is free to connect to a new irrigation system at your next home.
There are two ways to reset a Rachio controller. One is via the smartphone app and the other is by using buttons on the controller itself. Rachio recommends the latter if you are having Wi-Fi issues, and states that the first-generation controller can only be reset via the app. The company also says that, while resetting the buttons should clear any Wi-Fi issues, you will still have to remove the controller from your Rachio app before the new owner can use it.
In this case, resetting the app should work for most owners. But if your Rachio is showing some Wi-Fi and connection issues, you are best doing the button reset and then the app reset to make sure the device is factory-fresh and any connectivity bugs have been squashed.
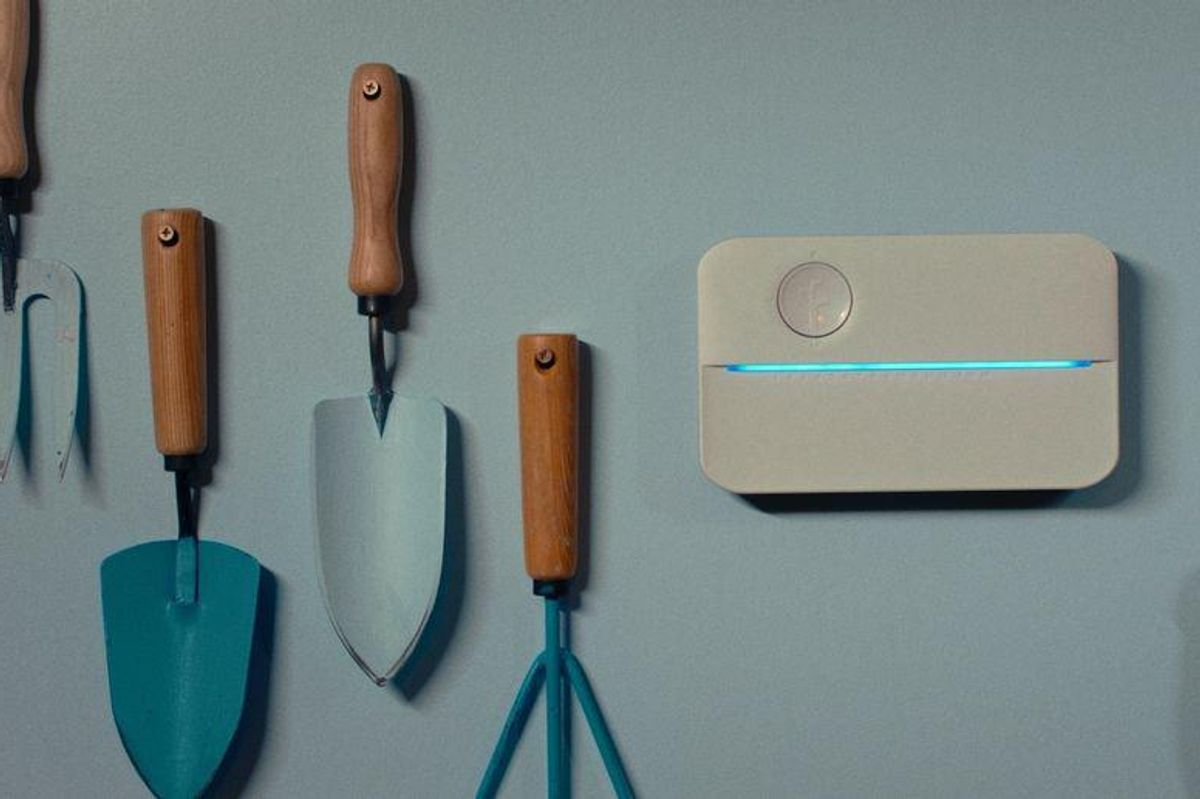
![]() The Rachio 3 can water 16 different zones across your garden
Rachio
The Rachio 3 can water 16 different zones across your garden
Rachio
It should be noted that resetting your Rachio cannot be undone. And doing so deletes all data from the controller, including zone settings, schedules, water usage, and watering history. So, while the buyer of your home would likely benefit from a pre-programmed irrigation system, they'll have to set it all up again. But at least the hardware will be in place for them and ready to go.
To get started with resetting via the Rachio app, follow these instructions:
- Open the Rachio app
- From the home screen, tap in the More tab
- Tap on Controller Settings then go to Remove Controller towards the bottom of the screen
- Tap on your controller and tap the Remove button on the warning message
If you instead decide to reset the controller using its buttons, follow these instructions:
For Rachio 2 owners:
- Unplug the controller
- Press and hold the up arrow and select the button simultaneously
- Plug the controller back in while continuing to hold the two buttons
- Hold the buttons until the LED light right is fully illuminated, then release them
For Rachio 3 owners:
- Unplug the controller then plug it back in again and wait for it to boot up
- Hold down the stop button until the light bar fully illuminates and flashes blue
- After that, the controller will shut down, reboot and show a blinking amber light, meaning it is ready to connect to Wi-Fi.
As we said earlier, if you have reset the controller using its buttons, you then still need to go into the Rachio app and remove it from your account. That way, the new owner can set it up and add it to their own Rachio profile.
Lastly, if you move into a property that has a Rachio system left behind by the seller, and it hasn't been reset as per the instructions above, you will need to contact the seller. They can then perform the app reset remotely, while you can also perform the physical reset too, before downloading the app for yourself and registering the device as your own.
Check out The GearBrain, our smart home compatibility find engine to see the other compatible products that Rachio works with including Google Assistant and Amazon Alexa-enabled devices.
How to Find Products in The GearBrain, Our Compatibility Find Engine for Smart Deviceswww.youtube.com
From Your Site Articles
Related Articles Around the Web


