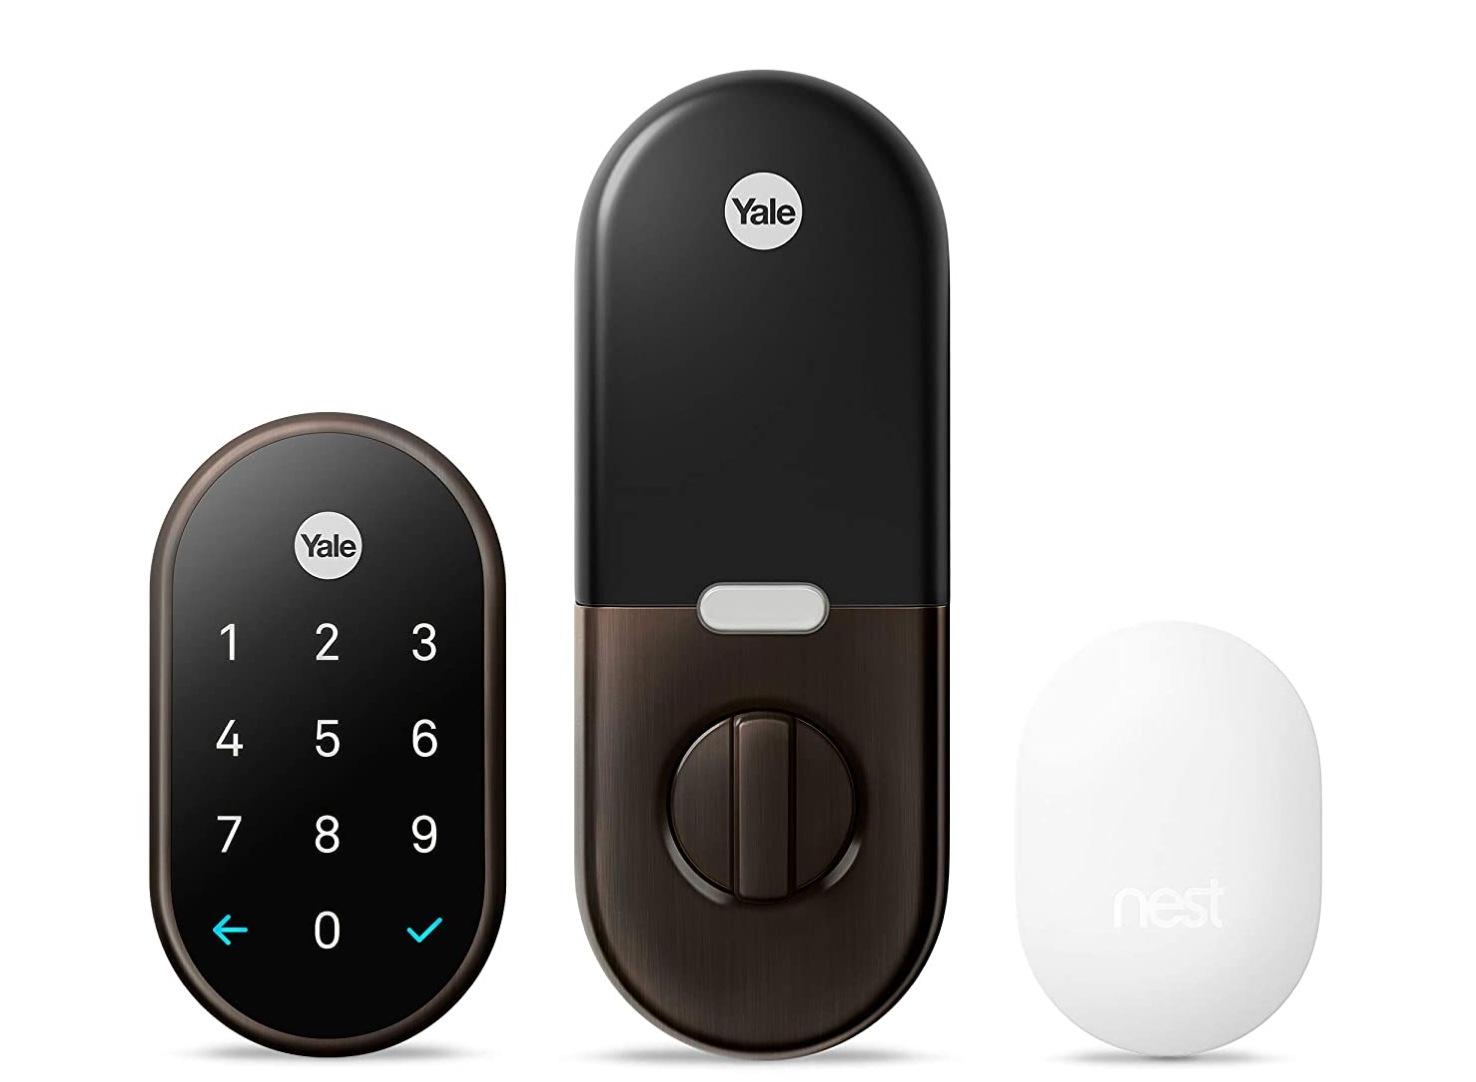
How to factory reset your Nest x Yale smart door lock when moving house
It is common to change the locks when moving into a new property, owing to the peace of mind it brings knowing only you have the right keys – and it's a similar story when it comes to smart locks, too.
As part of an ongoing GearBrain series, this article will look at what to do when moving home with a Nest x Yale smart lock. The advice and instructions to follow can be used by smart lock owners who are moving and want to take the device with them, but also those who plan to leave the smart lock behind.
Read More:
- Yale Smart Delivery Box Review
- The best smart door locks to protect your home
- How to factory reset your Nest Thermostat when moving house
Buy Yale Wi-Fi and Bluetooth Upgrade Kit for Nest x Yale Smart Locks
It is important to remove or reset all of your smart home devices when moving to a new property, but with door locks it is vital that you do so correctly. This helps give the new owner peace of mind that you no longer have access to the lock, and that they can set it up as their own.
Thankfully, resetting a Nest x Yale smart lock only takes a couple of minutes and is a relatively simple process. As Google's Nest support document states: "When the lock is reset to factory defaults, all user passcodes including the master passcode are deleted and all programming features return to original default settings."
To factory reset, here's what you need to do:
- Use the included cover key tool or a thumbstick to remove the lock's battery cover and batteries
- Press the tool or stick into the hole at the top of the battery compartment and press firmly
- Grip the cover close to its top and pull it off while continuing to press the key or thumbstick
- Remove all batteries
Next, you need to remove the mounting plate. To do this:
- Unscrew the two bolts holding the mounting plate to the smart lock
- Remove the mounting plate to reveal the reset button, to the left of the cable connector
- Hold down the reset button while putting the batteries back in
- Keep the button held down until the light turns red and the lock says: "Just a moment, erasing all settings"
- Release the reset button
The next stage sees you remove the batteries again:
- Take out the leftmost and rightmost batteries to expose the screw holes
- Screw in the two bolts holding the mounting plate
- Replace the two batteries you just remove
Now, the lock will say: "Hi, from Yale and Nest" and the factory reset is complete. You can replace the battery cover; to do this, insert the two tabs on the bottom of the cover into the holes on the lock, then push the cover until the tab at the top locks into place.
How to check a Nest x Yale smart lock has been reset
After all of this, it is worth checking that the lock has been fully reset correctly. Or, if you have just moved into a property with a Nest x Yale smart lock, you can check that it is reset and ready to use by doing this:
Press the white indicator light on the lock. If the light pulses blue and the lock says: "Ready. Use your Nest app to add the lock to your account," then it has been removed from the previous owner's account.
If the lock says: "Privacy mode is on," or: "Privacy mode is off," then it is still paired with the owner's account. To remove the lock from your account, open the Nest app and select your lock from the home screen and tap Settings then Remove Lock.
If you move into a house when a Nest x Yale lock already installed, you can perform the factory reset explained at the top of this article, but if the lock hasn't been removed from the previous owner's Nest account, you will have to ask them to do that before setting it up as your own.
If moving, check out The GearBrain, our smart home compatibility find engine to find new smart locks compatible with your existing smart devices.
