How to create custom smart home scenes with the Apple Home app
Like Amazon Alexa and Google Home, the Apple HomeKit platform has a way to control several devices at once, called 'scenes'.
Scenes can be created using the Home app for iPhone, iPad and Mac, and once made can be controlled manually or by configuring an automation (which is like a routine in Alexa and Google Home parlance).
Read More:
- What is Apple HomeKit and how does it work? Getting started with the Home app
- HomeKit compatibility: What smart home devices work with the Apple Home app?
- How to add a new smart home device to the Apple Home app
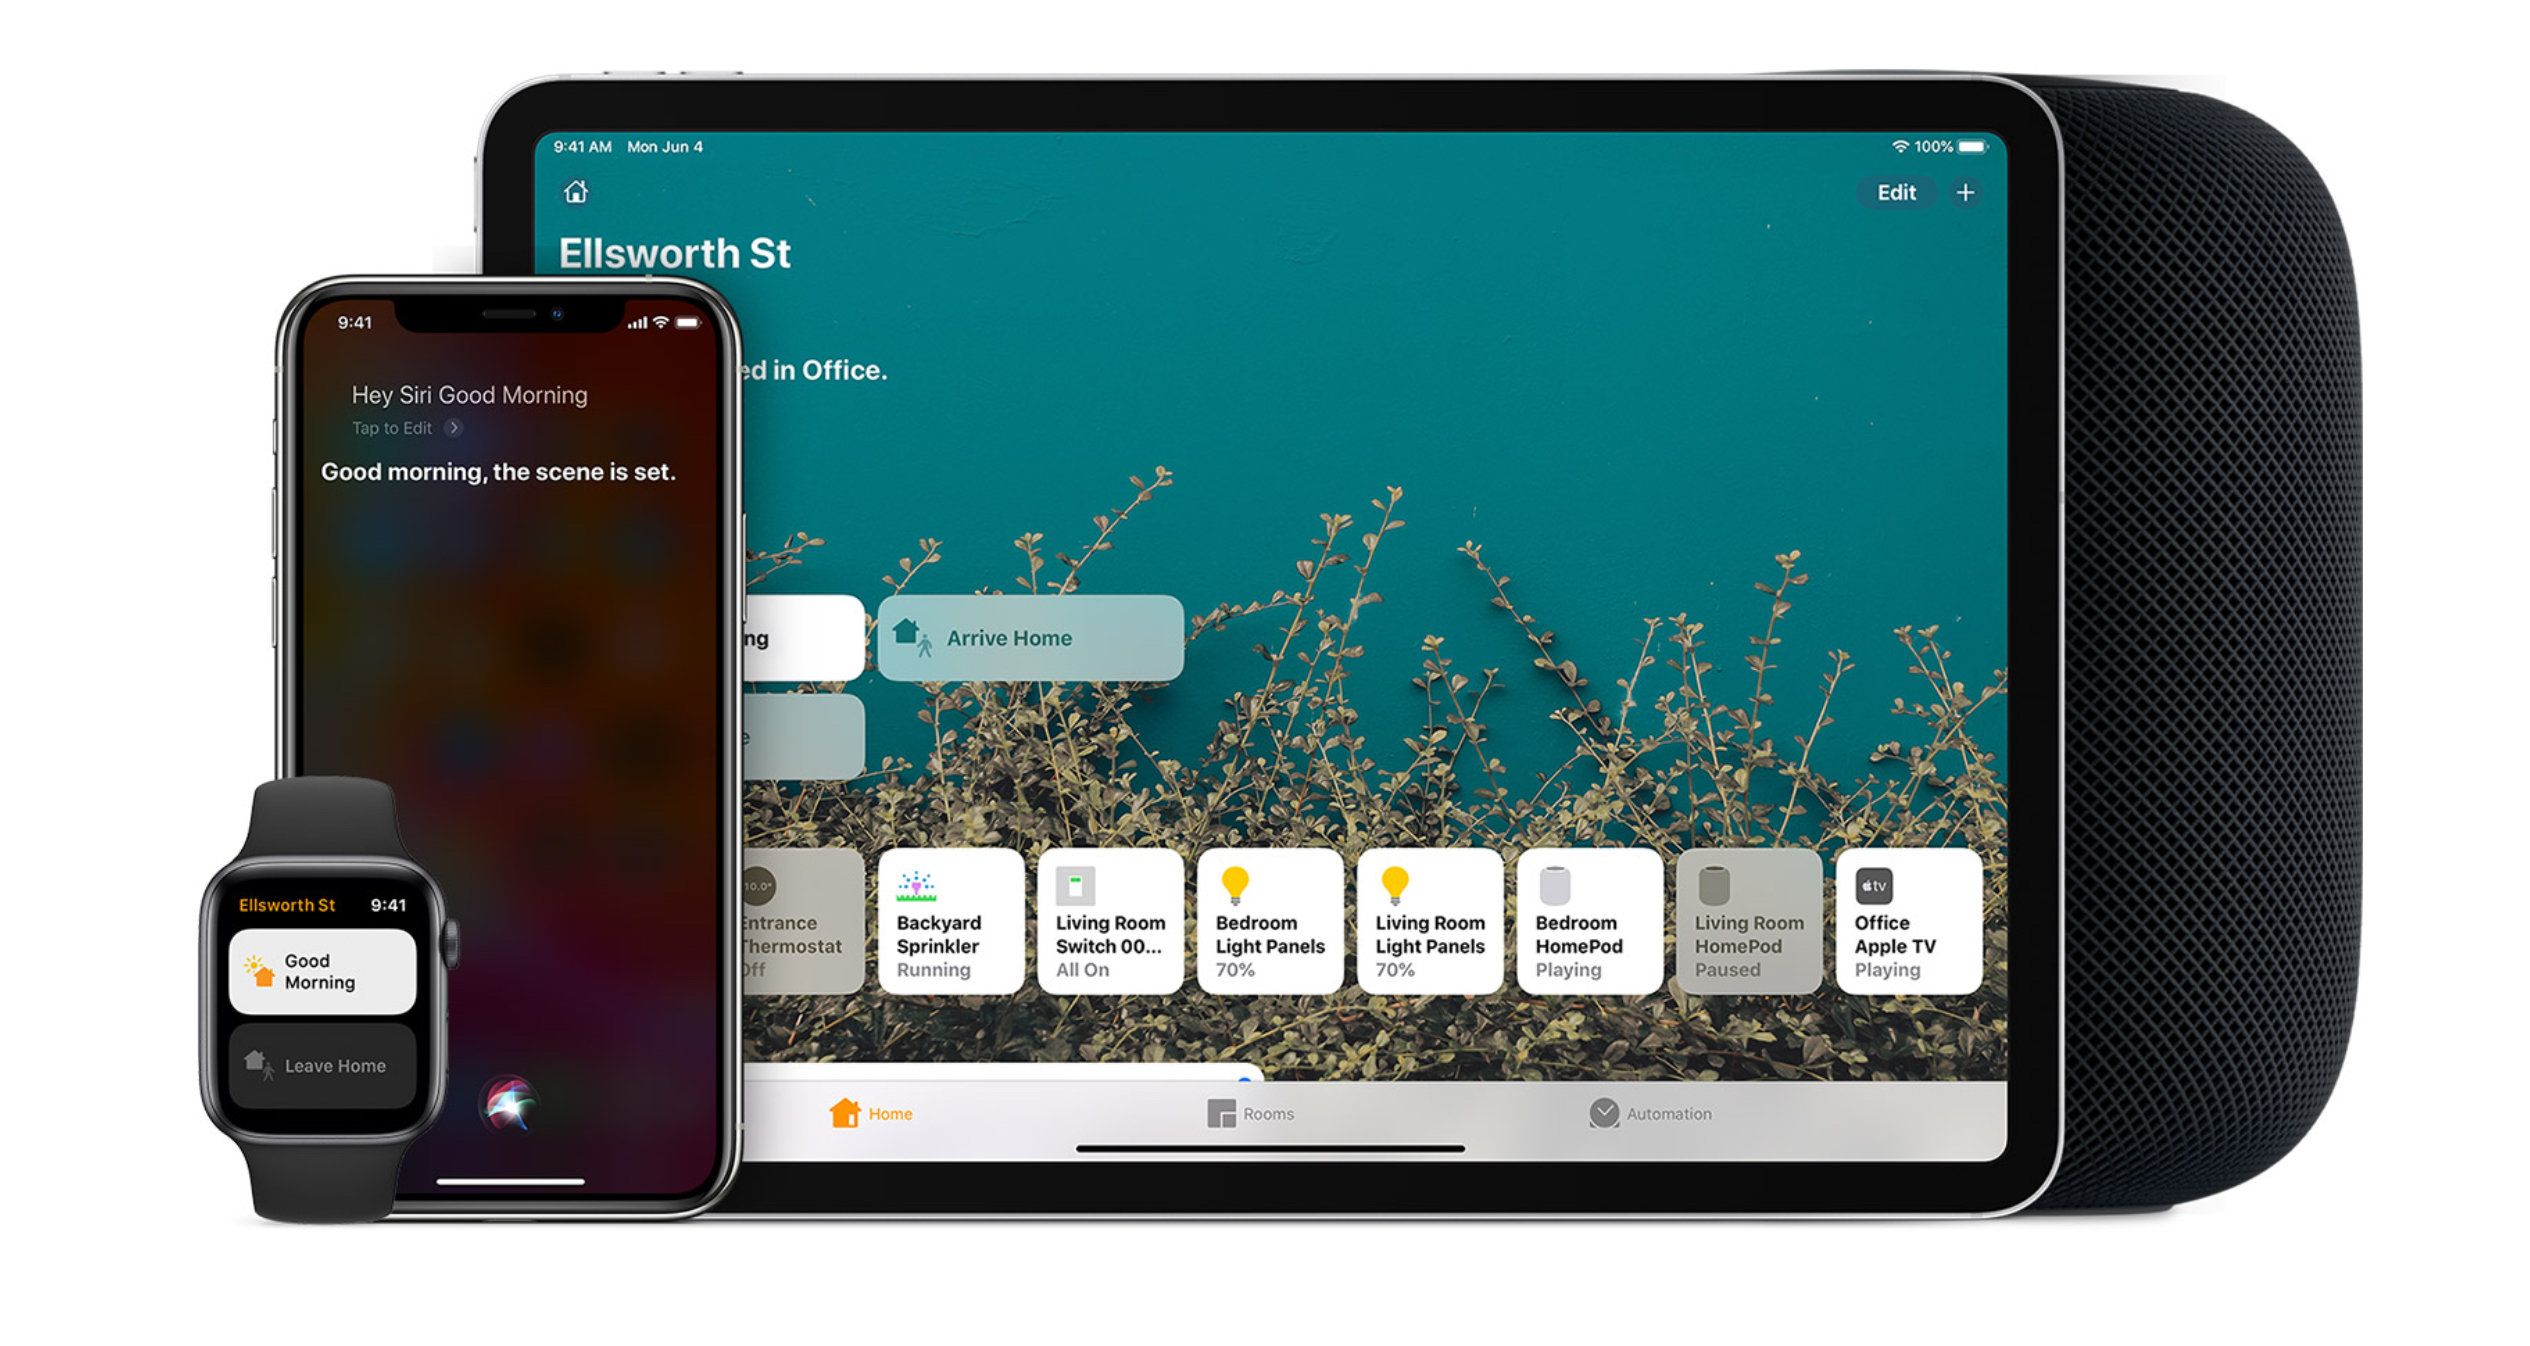
The Apple Home app helpfully creates scenes automatically, based on the devices you have connected to your HomeKit system. In my case, the Home app sees I have some Philips Hue smart bulbs, which it gathers together in three scenes called Arrive Home, Good Night and Leave Home.
These scenes can be edited, and you can of course create custom scenes of your home using whatever HomeKit accessories you have. Once created, scenes are controlled by tapping or clicking on them in the Home app for iOS, Mac and Apple Watch, or by asking Siri on any of your Apple devices.
To edit a suggested scene created by the Home app on your iPhone, follow these instructions:
- Open the Home app
- Tap the + icon in the top-right corner, then tap on Add Scene
- Tap on the suggested scene you want to edit
From this page, you can change what the scene is called by tapping on its name, and adjust how each accessory behaves by long-pressing it. In this case, the brightness and color of each Hue bulb associated with the scene can be adjusted. Tapping on each accessory changes whether activating the scene switches it on or off.
For example, a scene called Leave Home would likely be set to switch lights off instead of on.
This page also lets you test the scene to make sure it is working correctly, and add more accessories to the scene. Once you have the scene looking how you want, tap Done and make sure the 'Include in Favorites' switch is toggled on for it to appear on the home screen of your Home app.
How to create a new Apple Home scene
Next, we'll look at how to create a new scene from scratch, again using the Home app for iPhone. As before, follow these instructions to get started:
- Open the Home app
- Tap on the + icon in the top-right corner
- Tap on Add Scene
- Tap on the Custom button
Now you'll be asked to name your scene, select an icon for it (by tapping the orange home icon), and add accessories for it to control.
You could, for example, create a scene called Movie Night with a popcorn icon, which could be set to dim all of the lights in your living room except an atmospheric light strip behind the television. It's then simply a case of tapping accessories to add them to a scene, then long-pressing on them to adjust their settings, like the colour and brightness of a smart bulb, or temperature of a thermostat.
How to create a new scene using Apple Home for Mac
The Home app for Mac is almost identical to that on the iPhone and iPad. To create a scene, click on the + icon then Add Scene, just as before. Now click on Custom to create a new scene from scratch, give it a name and icon, then click on Add Accessories.
Click on each accessory to add it to the scene, then click Done. You can now adjust how each accessory behaves in the scene by clicking each to switch them on or off, and double-clicking to adjust the accessory's settings (such as the color of a bulb). Then just click Done, and your scene is created.
You will notice that scenes created on the Home app for iPhone will automatically appear on the Home app for Mac, and vice versa.
Once you have created a scene and made it one of your favorites, it will appear on the home screen of the Home app. Tap it, and the scene will deploy. You can also use Siri on any of your Apple devices; just say: "Hey Siri, set the [name] scene".
You can also control scenes from the Home app for the Apple Watch, pictured at the top of this article.
