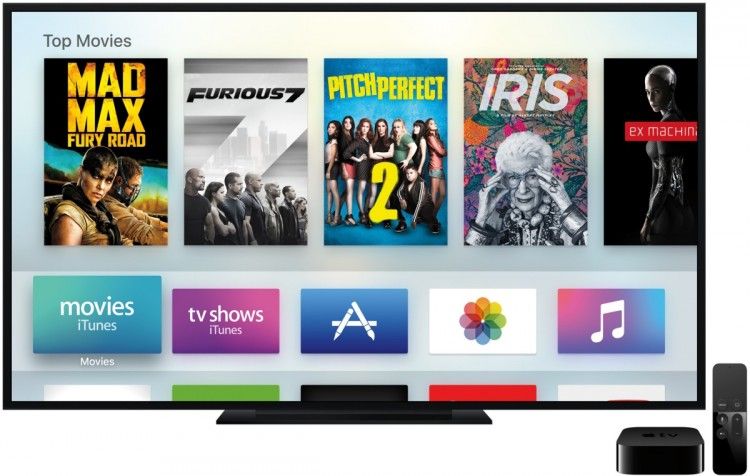
Connected Home Theater How-To: Setting Up Your New Apple TV
How To Set Up The New Apple TV (2015)
Setting up the new Apple TV is easy, but a lot easier if you have an iPhone or iPad handy. If you do, turn on Bluetooth and connect to your home WiFi to help speed along the process.
1.) Skip this step if you will use WiFi to stream to the new Apple TV. Plug an ethernet cable from your router into the back of the new Apple TV.
2.) Plug an HDMI cable into your Apple TV, and then to an open port on your TV or AV receiver. Then plug the power adapter into the back of the Apple TV and a power outlet.
3.) Power on your TV or AV receiver, and change it to the input the Apple TV is connected to.
4.) You should see a screen asking you to pair the Siri Remote by holding down MENU and +. Select your language and country.
Tip: The previous Apple TV remote had an ENTER button, so you will need to click (not tap) the Siri Remote's trackpad.
5.) The Apple TV should detect your iPhone or iPad via Bluetooth, which it can use to connect to the same WiFi network. If not, you have to enter your WiFi username and password manually.
6.) Enter your username and password for iCloud and the Apple Store.
7.) Enable location services (it allows the screensavers to change based on the time of day in your time zone) opt-in to Siri to use voice search, and then accept the Terms & Conditions.
Note: Enabling the Aerial screensaver will require about 600MB of your home Internet data every month, which is a lot if your service provider limits the amount of data you can use each month.
8.) Go to the App Store to download apps – which will require you to enter your password until you see a screen asking if you want to enter it every time you download an app.
9.) Enter your username and password for the app you want to use, and start streaming.
Note: You can also head into the SETTINGS menu if you want to tinker with the different display, audio, app and content options. You can also rearrange the order which app icons appear based on your preferences.
